I have to admit it. There is a dilemma for cooking chicken breast in pressure cooker. On one hand, pressure cooker saves so much time! On the other hand, pressure cooking is not the best method for the juiciest and moistest chicken breast.
Moisture Level vs Cooking Time:
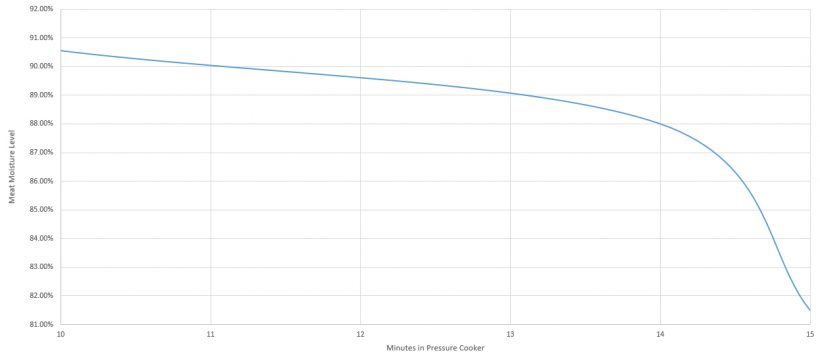
To summarize, the longer the meat is cooked, the drier it will become.
The Problem:
It is very easy to overcook chicken breast in pressure cooker, as we cannot check the temperature and level of doneness during the cooking process. Once upon a time, I overcooked a chicken breast in pressure cooker so badly that it registered at over 200°F on my food thermometer. It was like eating a piece of dry cardboard.
The Meat for this Experiment:
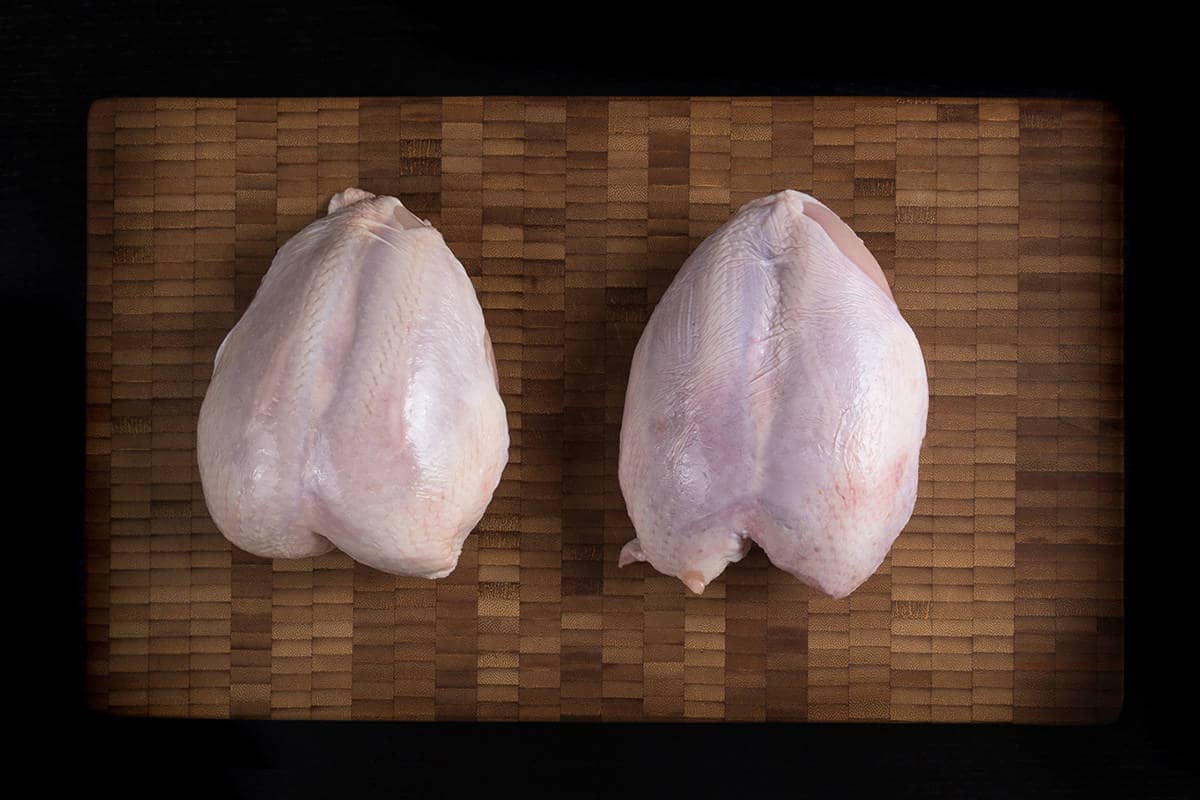
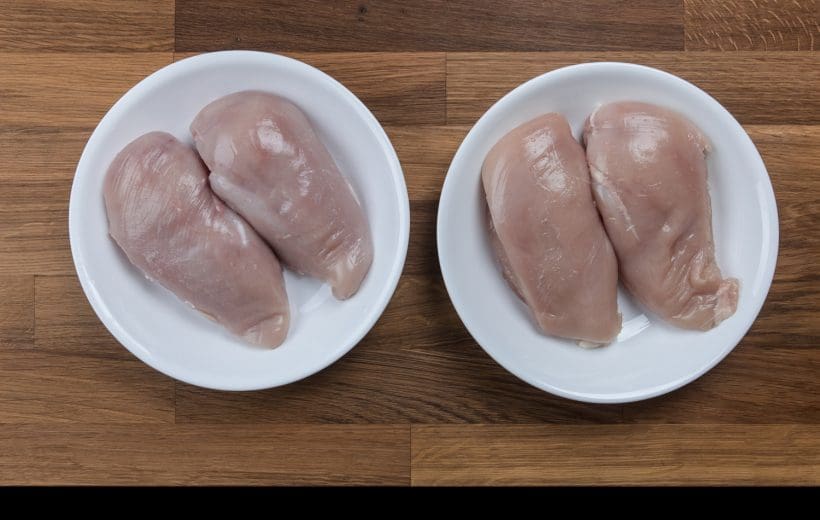
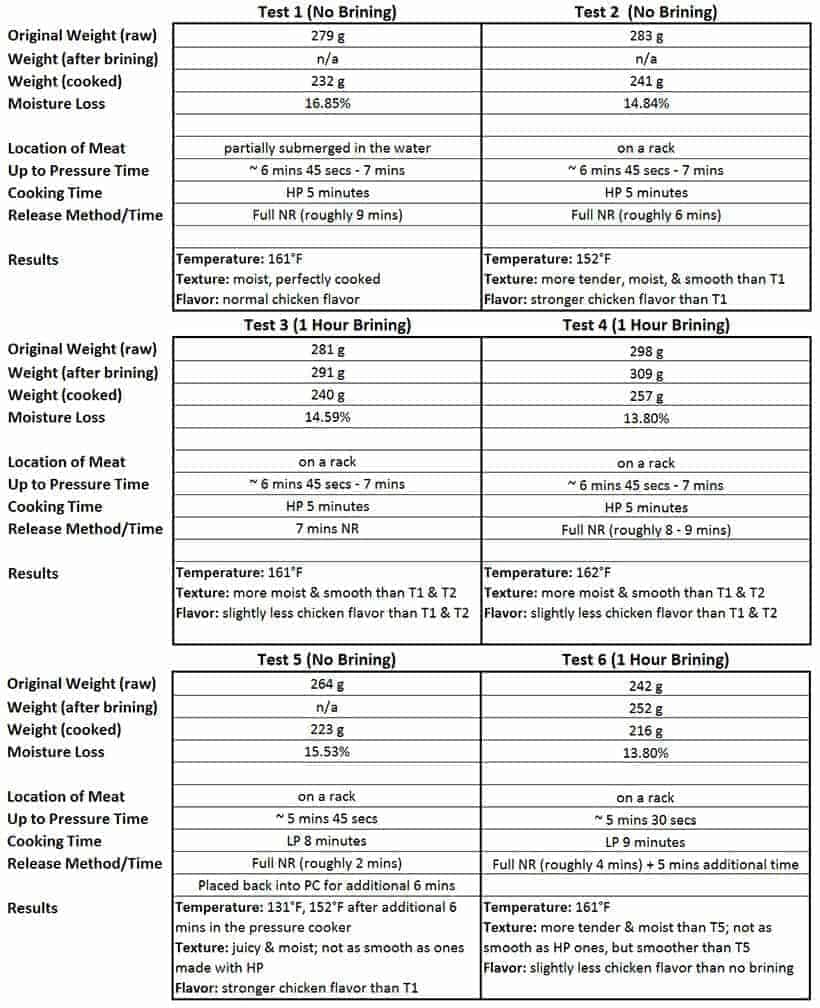
We removed the skin, bones and excess fat, then halved our whole chicken breasts (Note: this is how skinless, boneless chicken breasts are mostly sold in the market). They weigh 242 grams, 264 grams, 279 grams, 283 grams, 281 grams, and 298 grams respectively. The thickest part is about 1 5/8 inch thick.
Materials & Methods for Pressure Cooker Chicken Breast Experiment
Pressure Cooker: Instant Pot Electric Pressure Cooker
Altitude: close to sea level
Liquid: Exactly 250ml (1 cup) of cold running tap water
Pressure: Low Pressure (5.8 ~7.2 psi) and High Pressure (10.15~11.6 psi)
Cooking Time: 5 minutes – 9 minutes
Release Method: Natural Release
How We Cooked the Chicken Breasts:
- Pour in exactly 1 cup of cold running tap water
- Place chicken breasts in pressure cooker (in the water or on a Stainless Steel Steaming Rack)
- Cook at High Pressure or Low Pressure
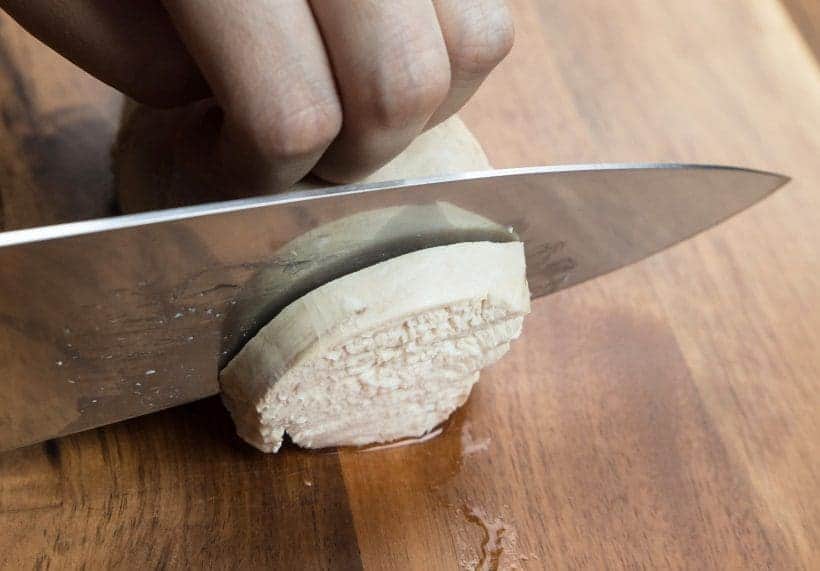
- Rest for 5 – 8 minutes before slicing & tasting
Pressure Cooker Chicken Breast Experiment Results
Low Pressure or High Pressure?
We did a direct comparison and we both agreed that the texture of the high pressure chicken breast came out slightly better. Maybe it was the quality of the chicken meat. For now, we do not have enough data to make a solid conclusion.
To Brine or Not to Brine?
After doing 18 tests with chicken breasts and chicken drumsticks, we found that a quick one hour brine increased the moisture level by 0.8% – 1.1% compare to the non-brine chicken.
Advantage: Even a quick brine increases the chicken breast’s moisture level and makes it more tender. It was evident in our direct taste test. It also adds some saltiness flavor to the chicken breast.
Disadvantage: Brining dilutes some of the chicken’s flavor. It was detectable in our taste test.
One small note, the non-brine version was highly acceptable when it was perfectly cooked.
How to Brine?
Here is a quick wet brine recipe 🙂
- In a small mixing bowl, mix 30 g salt with 500 ml of cold running tap water.
- Fully submerge the chicken breast in the mixture and place it in the fridge for at least 1 hour. Brining chicken breast for over 3 hours may result in ham-like meat texture.
- To prevent leakage, you can brine by putting everything in a ziploc bag instead of a mixing bowl.
On the Rack or Directly in Liquid?
We do not have enough data to make a conclusion, but it seems like more moisture is lost while the chicken breast is partially submerged in the liquid. More testing needs to be done on this.
What Temperature Should I Aim for?
Official recommended safe temperature for chicken breast is 165°F (some recommends 150°F – 160°F).
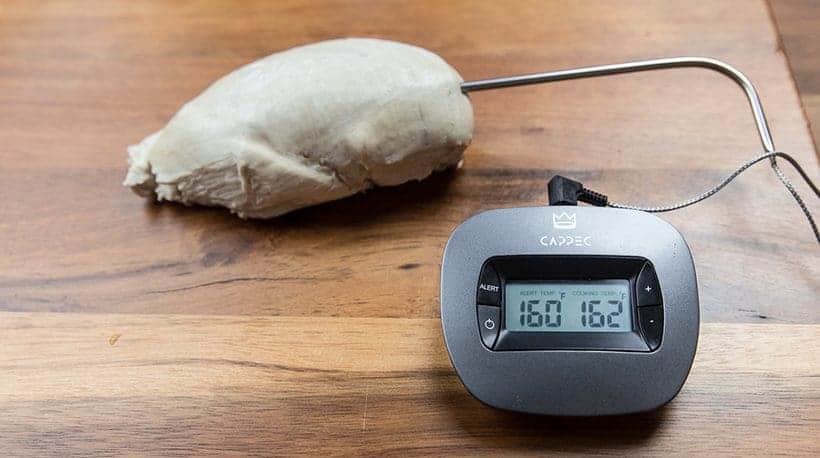
Aim for 161°F – 163°F at the thickest part of the chicken breast when you remove it from the pressure cooker. Get a food thermometer if you don’t have one!
Rest the chicken breast for 5 – 8 minutes to let the carryover heat elevate the center temperature to 165°F.
Why Should I Rest the Chicken Breast?
Not only does resting allows the carryover heat to slightly elevate the center temperature, but more importantly, it allows the meat fiber to relax and hold more moisture when we slice it.
My Chicken Breast is Undercooked, Should I Pressure Cook it Again?
Unless the chicken breast is severely undercooked, We will not recommend pressure cooking it again. If the chicken breast is below 160°F, quickly place the chicken breast back in the pressure cooker. Close the lid and let the residual heat cooks it for an additional 2 – 5 minutes. Do check the temperature often to avoid overcooking.
If the pressure cooker has completely cooled down, you can heat it up before placing the chicken breast back in. Remember to turn off the heat before you place the chicken breast back in to avoid overcooking the exterior!
Summary: Pressure Cooker Chicken Breast Cooking Time
Chicken Breast: 260 g – 300 g chicken breast (9 – 10.5 oz) with ~ 1 5/8 inch at the thickest part (get a Digital Kitchen Scale if you do not have one!)
High Pressure Cooking Method: 5 minutes at High Pressure with 1 cup of cold running tap water on a rack + 7 – 8 minutes Natural Release
Low Pressure Cooking Method: 9 minutes at Low Pressure with 1 cup of cold running tap water on a rack + 8 – 9 minutes Natural Release (The floating pin will drop at around 2 – 4 minutes)
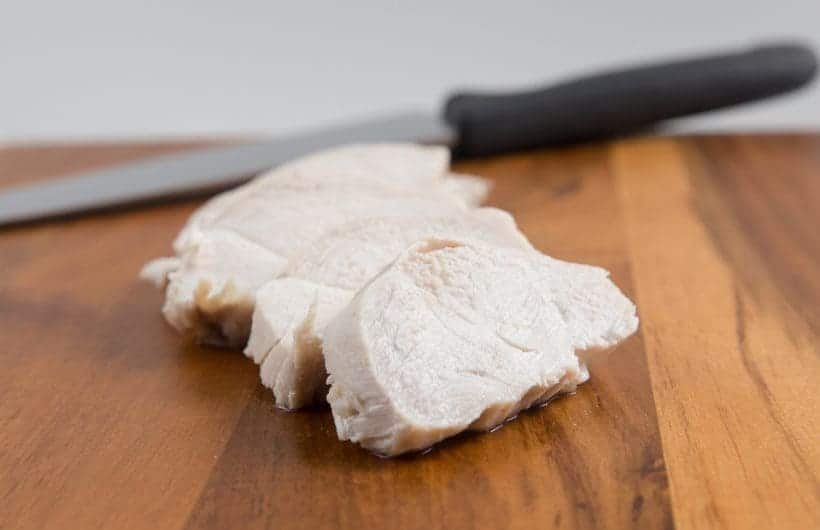
The Moistest & Juiciest Chicken Breast
There you have it.
The Moistest & Juiciest Chicken Breast from your pressure cooker to your dining table in roughly 30 minutes (until we find a better method, of course 😀 ).
Now, time to make some moist chicken breast:
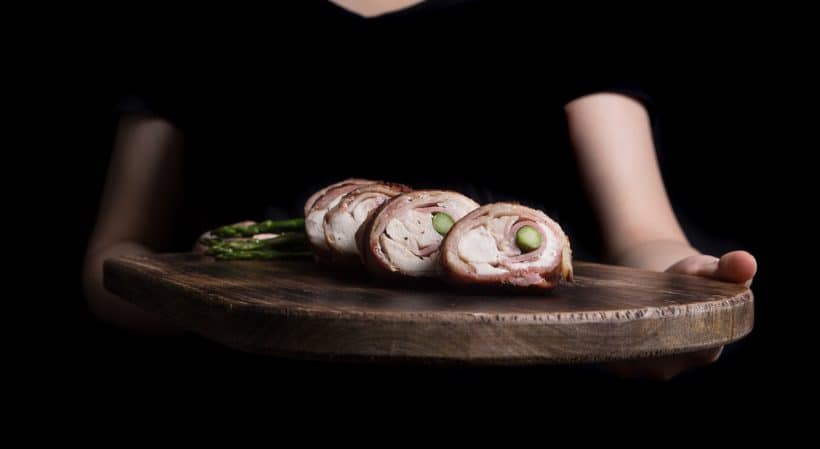
Instant Pot Chicken Breast Roulade
If you liked this experiment, you may also like:
- How to Make Tender, Moist, Flavorful Pot Roast in Pressure Cooker
- How to Make Fall-Off-The-Bone-Tender Pressure Cooker Baby Back Ribs
Say No to Cardboard Chicken Breast! 🙂
All Our Pressure Cooker Recipes
*Disclosure: We are an Amazon Influencer/Amazon Associate. This means that if you decide to purchase items or services on Amazon through our links on Pressure Cook Recipes to Amazon, Amazon will send a small commission to us at no additional costs to you. Thank you!
