Step-by-Step Guide on How to Make Greek Yogurt at Home. Make smooth, creamy & thick homemade yogurt with this Foolproof Instant Pot Greek Yogurt Recipe #12 (Pressure Cooker Greek Yogurt). Developed based on 12 experiments. Healthy, delicious, fun. 😀
After 2 months, 12 Homemade Yogurt Experiments, hundreds of tablespoons of homemade yogurt…
We’re thrilled to finally share our Foolproof Instant Pot Greek Yogurt Recipe #12 with you!
What is Greek Yogurt?
Greek Yogurt aka Labneh is getting hot in recent years. What makes this extensively strained yogurt extra attractive are the boosted health benefits & irresistible creamy texture.
The extensive straining process removes some of the liquid whey, water, and lactose, thus:
- Increases the level of protein
- Lowers the amount of sugar, sodium, & carbohydrates
The rich, creamy, and thick consistency is truly heavenly & satisfying to eat.
This texture also makes it a great substitution in cooking and baking. Some people like to use it to replace ingredients like sour cream, cream cheese, or mayonnaise. Makes a great dip!
Come join us to make your own Instant Pot Greek Yogurt! 😀
Making your own Greek Yogurt at home may sound complicated & intimidating. But it’s actually quite simple! Let’s break down the whole process in 5 simple steps.
How to Make Instant Pot Greek Yogurt in 5 Steps:
- Heat Milk to 180°F – 200°F
- Cool Milk to 105°F – 114°F
- Add Yogurt Starter to Milk
- Wait for Yogurt to set
- Strain Yogurt to separate the whey from the yogurt, then refrigerate
Sounds easy right? 😀
The only difference between making regular yogurt and Greek yogurt is the additional step of separating the whey from the yogurt to make it thicker. The more whey you separate, the thicker your yogurt will be.
You’ll Enjoy Instant Pot Greek Yogurt Recipe #12 Because:
- Tested – our Instant Pot Greek Yogurt #12 Recipe is developed based on 12 homemade yogurt experiments.
- Simple & fun to make!
- Better taste & consistency than the store-bought Greek yogurt – smooth, creamy, and real thick
- Didn’t you buy the Instant Pot because it’s also a yogurt maker? ? So, what are you waiting for?
Ingredients for Instant Pot Greek Yogurt Recipe #12
- 2 litres (1/2 gallon) Whole Foods 365 Organic 3.8% Whole Milk
- 32 grams (a little more than 2 tbsp) Dannon/Danone 4% Plain Greek Yogurt with Active Bacterial Cultures
What Type of Milk to Use for Making Homemade Yogurt?
One of the most critical steps to making homemade yogurt is using the right type of milk. The type of milk you use determines the thickness and creaminess of your homemade Greek Yogurt.
After testing the Instant Pot Greek Yogurt Recipe with 2% Milk, 3.25% Milk and 3.8% Milk, 3.8% Whole Milk with the highest milk fat content produced the thickest and creamiest homemade Greek yogurt.
Which Yogurt Starter to Use?
Note: Not all yogurt works as yogurt starters!
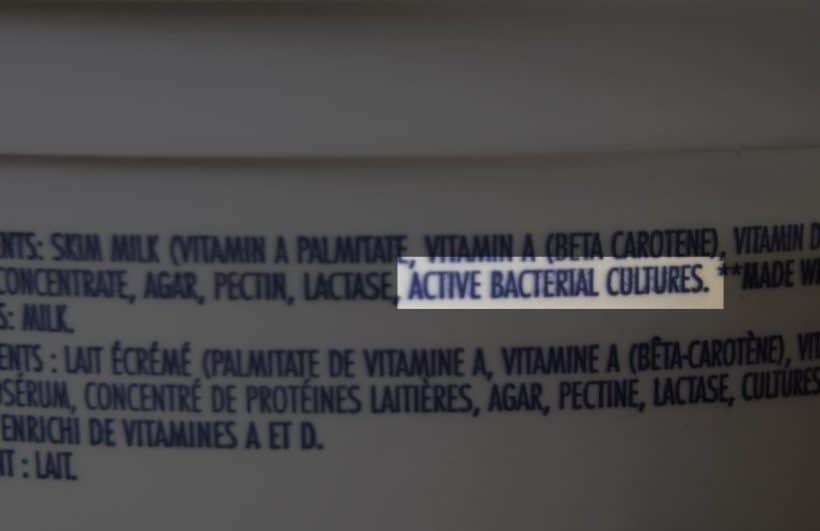
When you’re shopping for a yogurt starter, it’s critical to check the store-bought yogurt’s ingredients list. Make sure it contains Active Bacterial Cultures for it to work as a yogurt starter.
A live culture usually contains at least 2 types of bacteria (L. bulgaricus and S. thermophilus).
*Pro Tip: The homemade yogurt’s consistency and taste will differ depending on the type of bacteria cultures in the yogurt starter. Sometimes, it does make a big difference! So, choose the brand you like best for the most consistent result.
Special Tools for Instant Pot Greek Yogurt Recipe #12
- Instant Pot Electric Pressure Cooker
- Accurate Food Thermometer
- Silicone Spatula
- Pyrex Glass Measuring Cup
- Tablespoon measuring spoon
- Digital Kitchen Scale
- Euro Cuisine GY60 Greek Yogurt Maker
- Stainless steel ladle
Special Staining Equipment:

But if you’re going to be a dedicated yogurt maker, we’d recommend investing in a Greek Yogurt Maker (right) – easy to use, store & clean up, creates less mess and it’s reusable! 🙂
Instructions for Instant Pot Greek Yogurt Recipe #12
Preparation – Equipment Sterilization (Optional)
Cold water
Instant Pot Electric Pressure Cooker
Steamer rack
Accurate Food Thermometer
Silicone Spatula
Pyrex Glass Measuring Cup
Tablespoon measuring spoon
Clean rack
Time Required: ~30 mins
Option 1 – Sterilize with Instant Pot:
- Place 2 cups of cold water and a trivet in the Instant Pot.
- Place silicone spatula, Pyrex glass measuring cup, and tablespoon measuring spoon in the Instant Pot.
- Close the lid and move the Venting Knob to Sealing Position.
- Sterilize at High Pressure (use the manual button or pressure cook button) for 3 minutes + Natural Release.
Option 2 – Sterilize on Stovetop:
- Sterilize the equipment (including meat thermometer) on stovetop by boiling them for 10 minutes.
After sterilizing the equipment, air dry them on a clean rack.
*Plastic Tools or Equipment: Do not sterilize any tools or equipment with plastic or wooden handles.
Step 1
Heat Milk to 180°F – 200°F to Denature the Protein
2L (1/2 gallon) Organic 3.8% whole milk
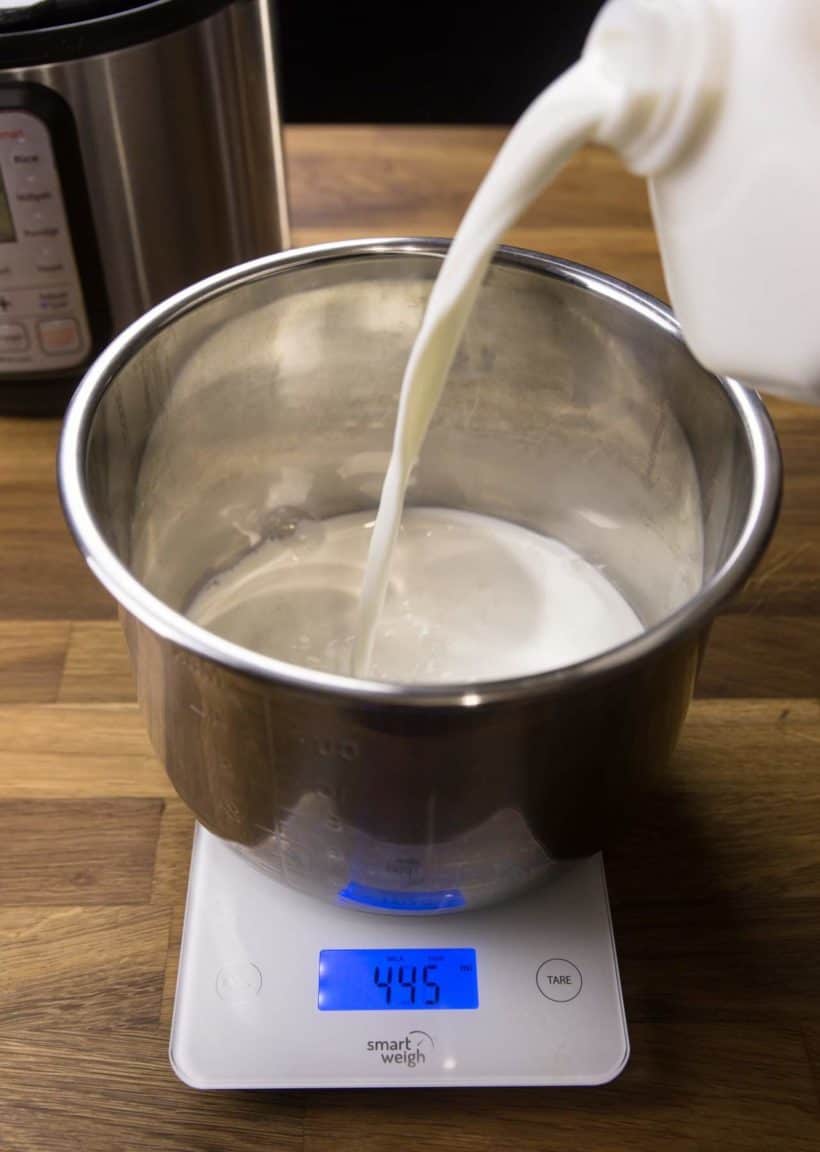
First, pour 2L (1/2 gallon) of Organic 3.8% whole milk in the inner pot.
Close lid (venting knob position doesn’t matter).
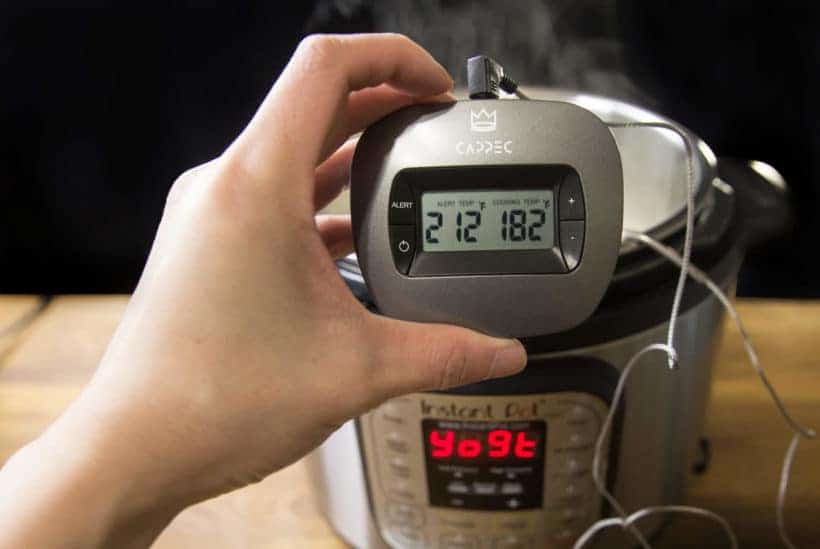
Use the Yogurt More function to boil the milk to at least 180°F.
It will say “boil” on the screen. It will take roughly 35 minutes – 40 minutes.
The Instant Pot screen will change to “yogt” when the boiling is done.
Step 2
Check Milk Temperature
Accurate Food Thermometer
Silicone Spatula
Open the lid.
Check the milk temperature immediately in a few spots and make sure the milk is over 180°F.
Stir with a silicone spatula and check the temperature again to make sure the milk is over 180°F.
*Pro Tip 1: If the milk is not over 180°F, close the lid and heat the milk with the Slow Cook Less function for another 15 minutes.
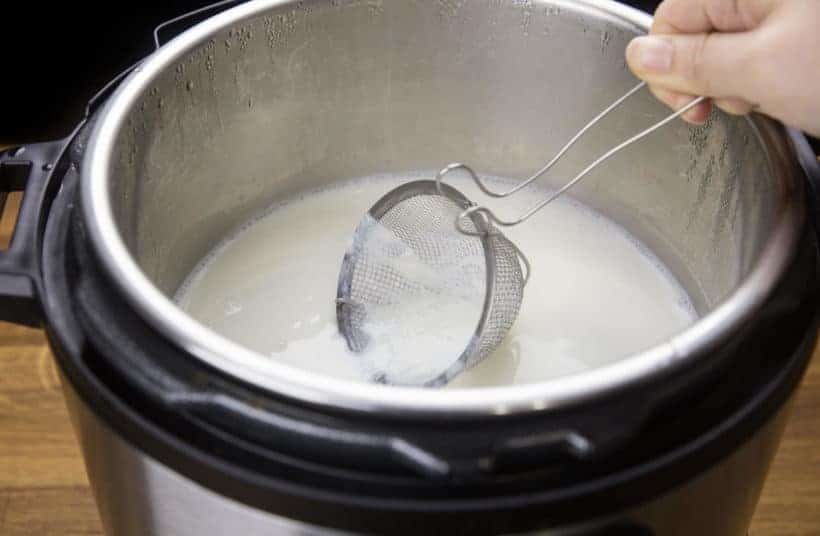
*Pro Tip 2: Skim away & discard the milk skin on top of the heated milk.
Step 3
Prepare Yogurt Starter
32g (a little more than 2 tbsp) Dannon/Danone 4% Plain Greek Yogurt with Active Bacterial Cultures
After the milk is heated over 180°F, place 32g (a little more than 2 tbsp) Dannon/Danone 4% Plain Greek Yogurt with Active Bacterial Cultures into the Pyrex glass measuring cup. Do not add the yogurt starter to the hot milk, as it will kill the bacterial cultures.
*Pro Tip: If you sterilized the measuring cup, make sure it has cooled to the touch.
Step 4
Cool Milk to 111°F
Accurate Food Thermometer
Larger pot/kitchen sink
Silicone Spatula
You can leave the pot on counter-top and wait until the milk cools to 111°F.
Alternative method to quickly cool down the milk temperature:
- Fill a larger pot or kitchen sink with cold tap water.
- Partially submerge the inner pot with heated milk into the cold tap water.
- Stir the milk in a circular motion with a silicone spatula and frequently measure the temperature.
- It will take 2 – 4 minutes to cool the milk to 111°F.
- Remove the pot from cold water immediately.
Pro Tip: Try not to touch the bottom of the pot with the spatula as it may have some milk solid stuck to the bottom of the pot.
Step 5
Add Yogurt Starter
½ cup of 111°F milk
Pyrex glass filled with yogurt starter
Tablespoon measuring spoon
Silicone Spatula
Add ½ cup of 111°F milk to the Pyrex glass filled with yogurt starter.
Gently mix it with the tablespoon measuring spoon.
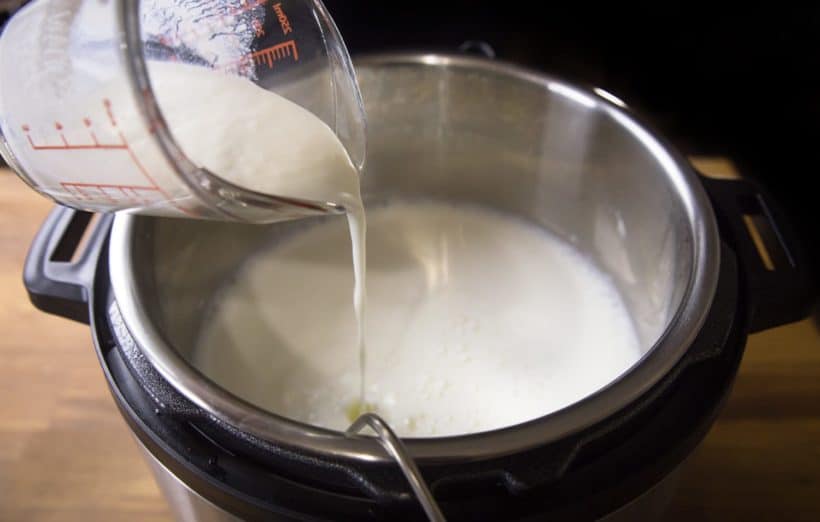
Pour the yogurt milk mixture in the inner pot and give it a few gentle stirs with the silicone spatula.
Step 6
Yogurt Incubation
Place inner pot back in the Instant Pot.
Close lid (Venting Knob position doesn’t matter).
Yogurt Incubation:
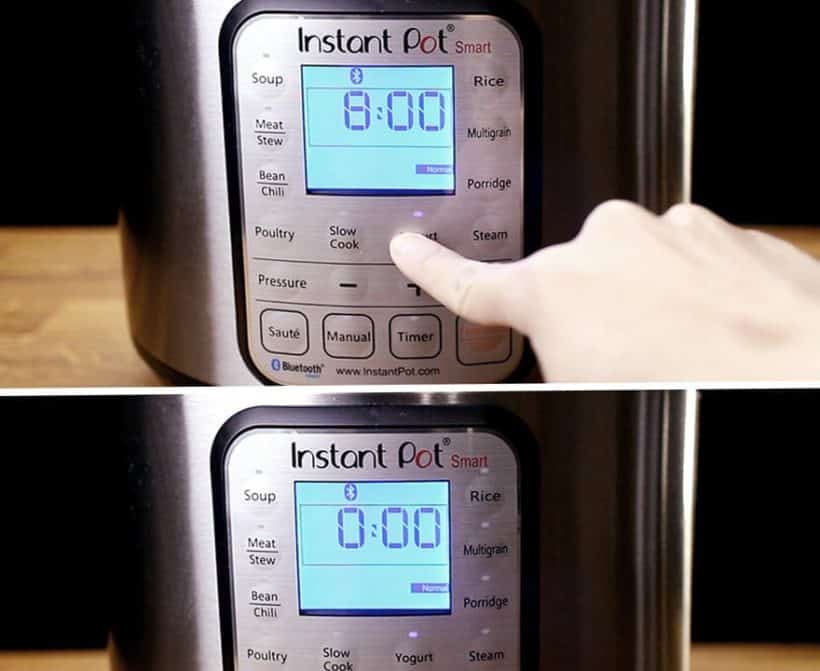
- Instant Pot Function: Press the Yogurt Button & use the Yogurt Normal Function to incubate the yogurt.
- Time: Adjust the time to 8:00 hours – 12:00 hours depending on how tangy you like your yogurt
Pro Tip 1: longer incubating time = more tangy yogurt
Pro Tip 2: The timer will count up instead of count down when the incubating process begins (as shown in above photo).
You can open the lid for a taste test once the yogurt is set (roughly 6 hours).
Pro Tip 3: Don’t disrupt the fermentation process by moving the Instant Pot or opening the lid. Wait until it is set (roughly 6 hours) before opening the lid.
Step 7
Strain Yogurt & Stop Incubating Process
Euro Cuisine GY60 Greek Yogurt Maker
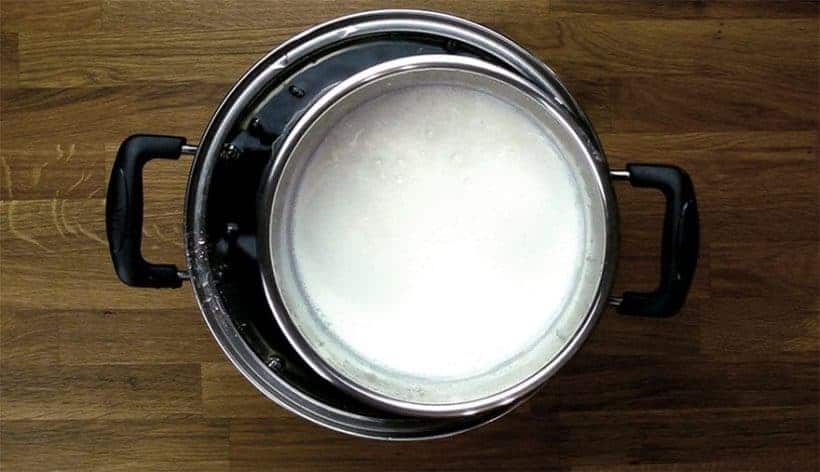
Once the yogurt has reached the desired tangy level, pour the yogurt into the Greek Yogurt Maker to separate the whey from the yogurt.
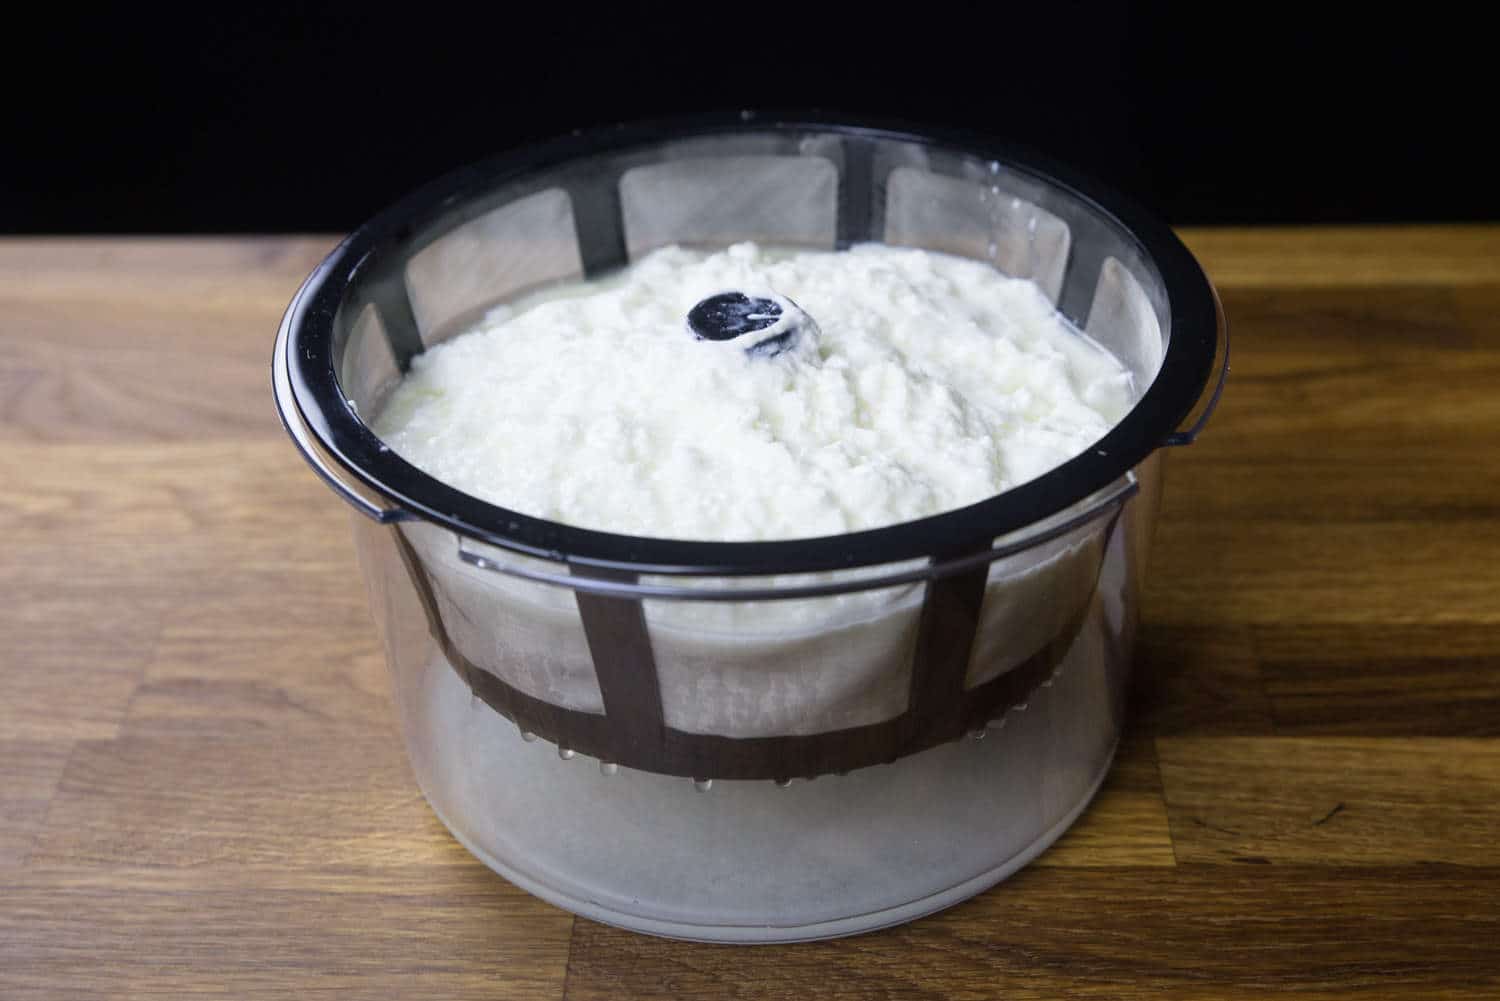
Place the Greek Yogurt Maker into the fridge to stop the incubating process.
Straining Time: Greek yogurt will be ready to serve in 3 hours – overnight depending on how thick you like it.
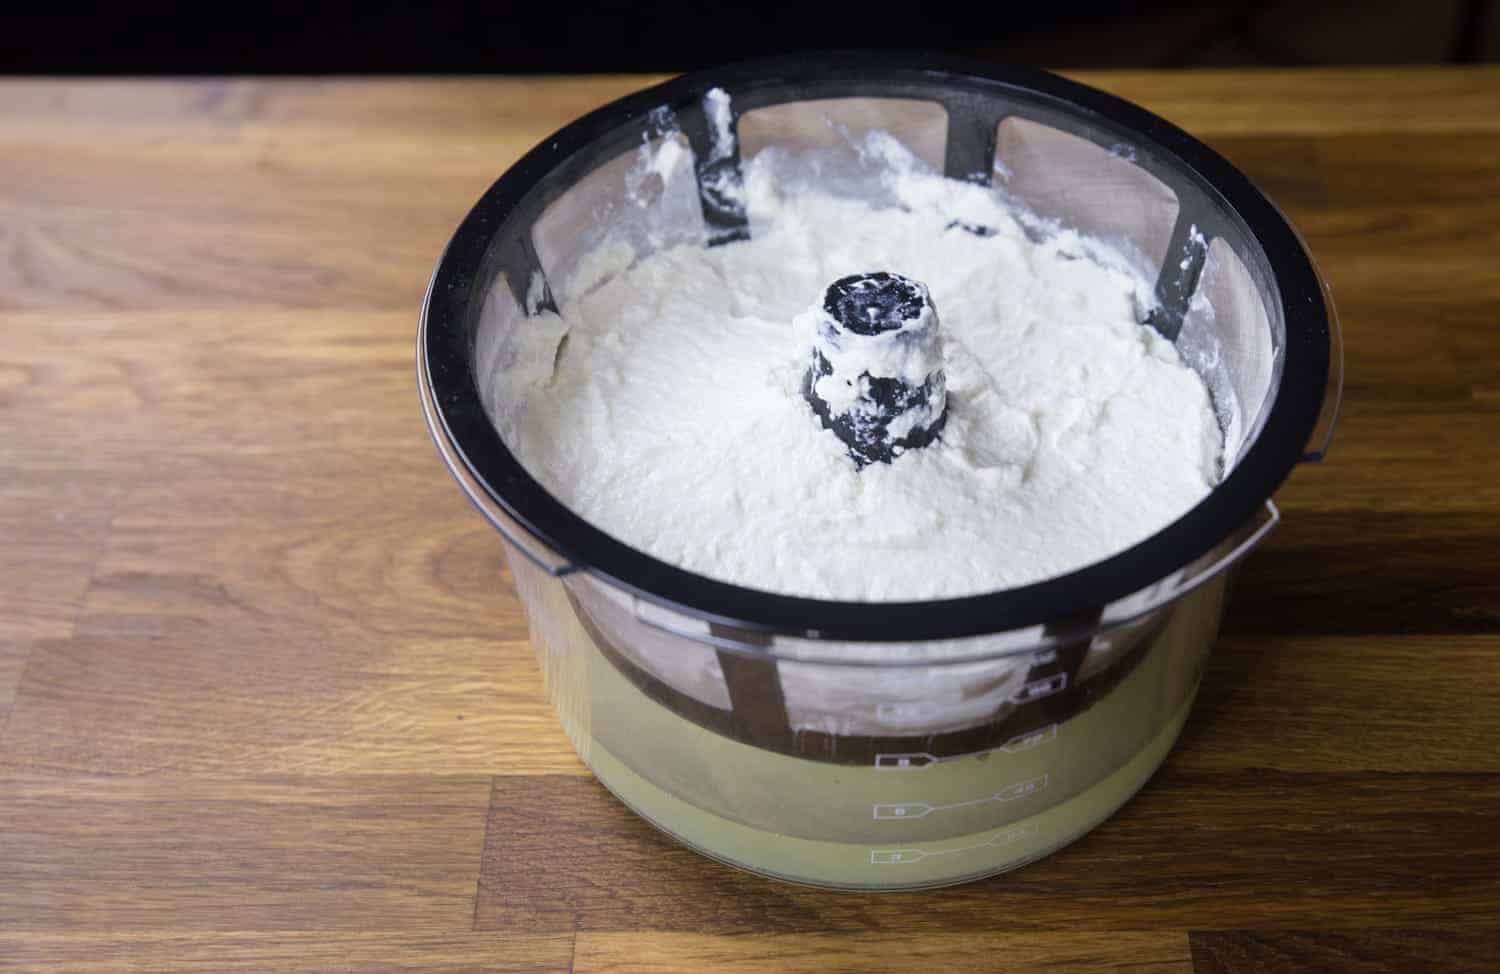
How Long to Strain Yogurt to Make Greek Yogurt?
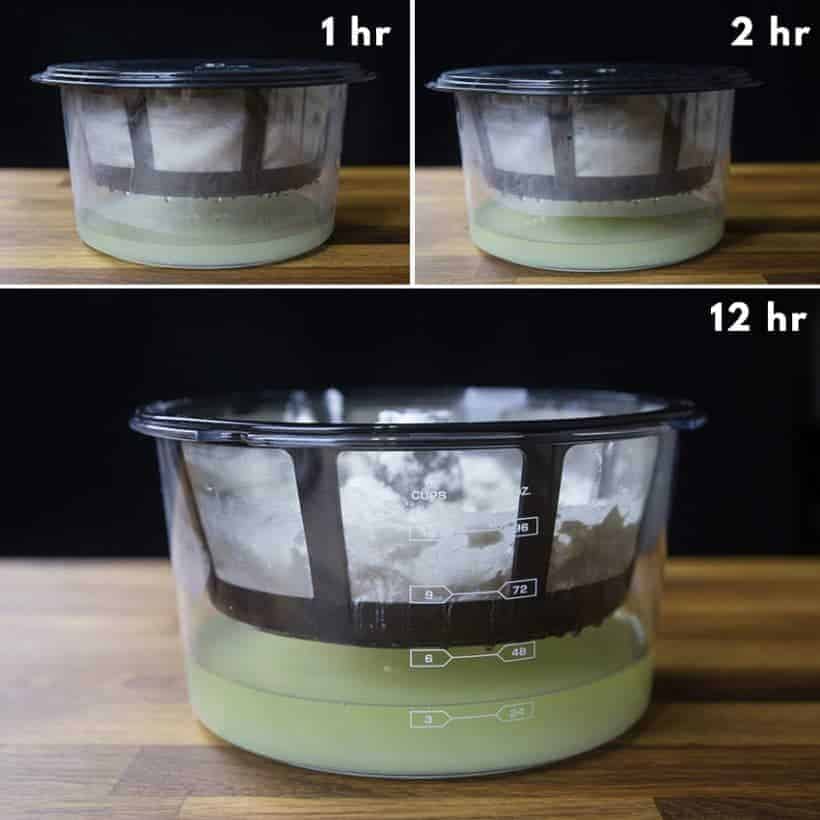
The more whey you separate from the yogurt, the thicker your yogurt will be.
Thus, the longer you strain = the thicker it becomes.
- 1 Hour – about 1.5 cup (375ml) of whey was separated from 2L of yogurt by the strainer
- 2 Hours – about 2.5 cups (625ml) of whey was separated from 2L of yogurt by the strainer
- Overnight – about 4 cups (902ml) of whey was separated from 2L of yogurt by the strainer. You are pretty much left with a little over 1L of Greek yogurt after straining overnight.
We had some fun and tried straining the yogurt for over 24 hours, and this happened…
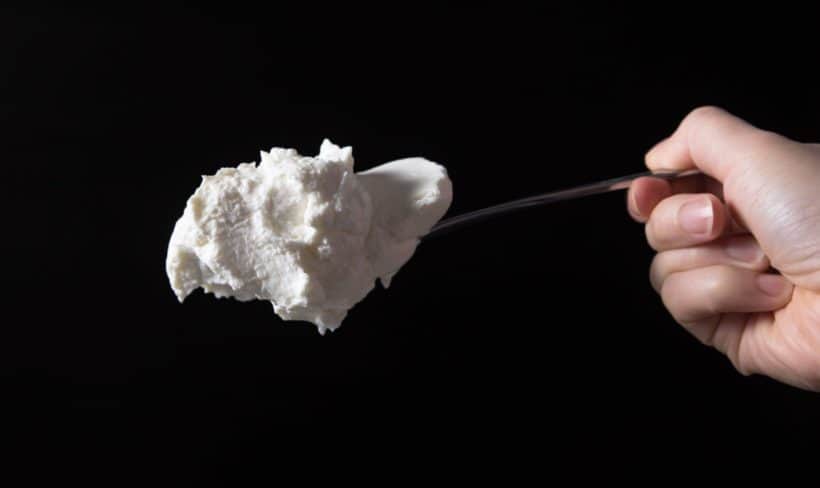
I wonder what your kids will think if you served this plain “cream cheese” yogurt as dessert. 😉
Pro Tip 1: If your Greek Yogurt came out thicker than you wish, don’t panic! You can always stir some of the whey back in to thin it out.
Pro Tip 2: If you don’t have a Greek Yogurt Maker, you can use coffee filter or paper towel (It may not be a good idea to use paper towel as our dear reader Leah mentioned, there are chemicals in paper towel to make it absorb better) on a sieve to strain your yogurt.
Step 8
Serve Instant Pot Greek Yogurt
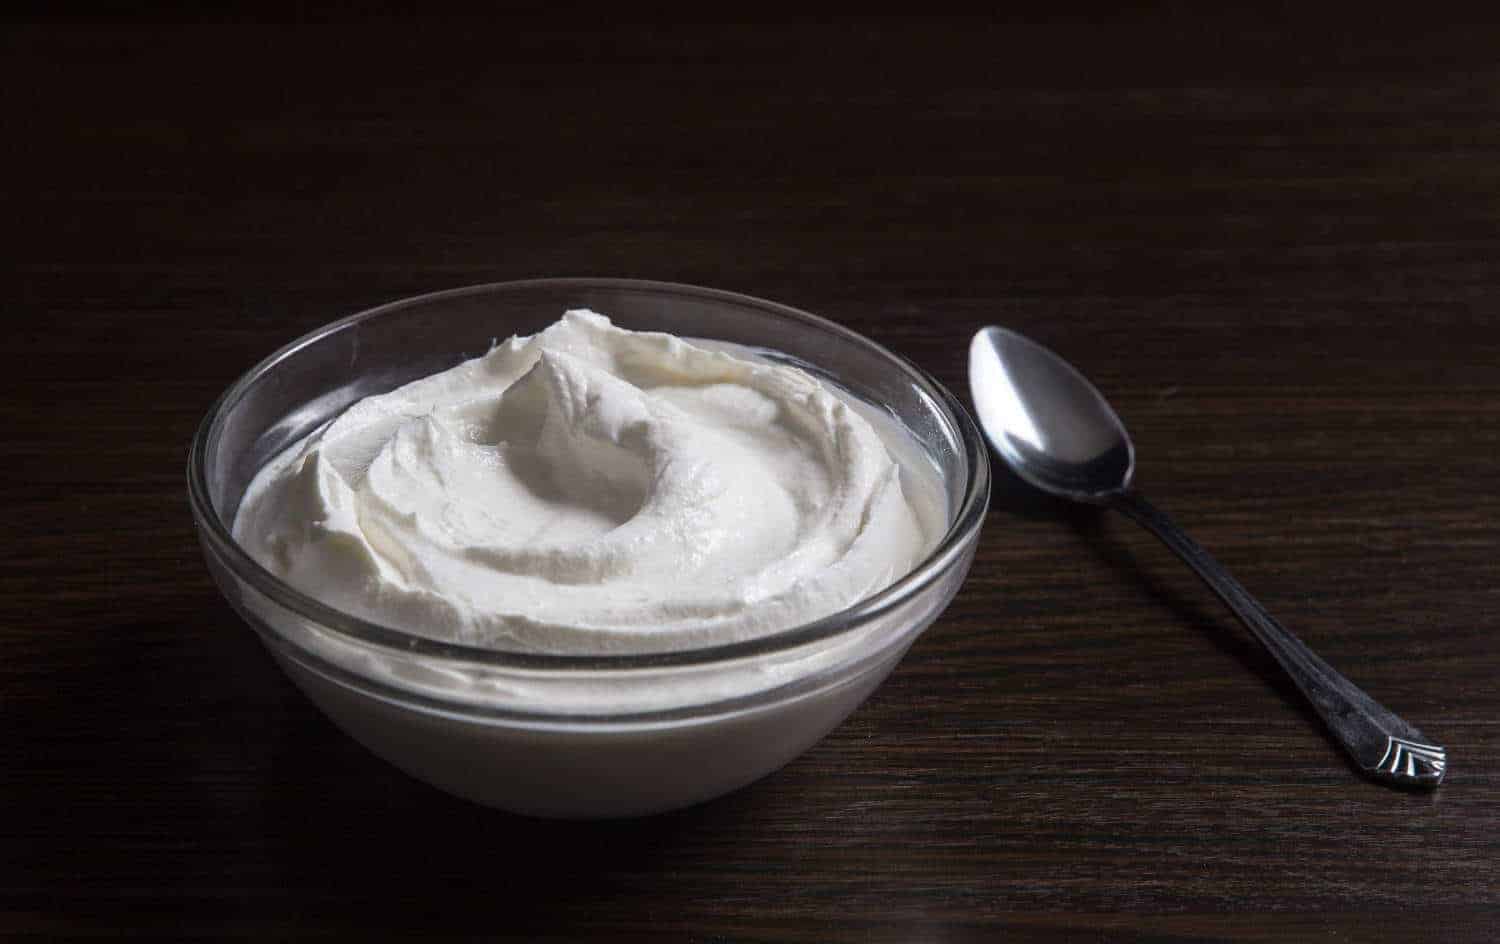
Whey to go!! Creamy, thick, and rich Plain Greek Yogurt is done! 😀
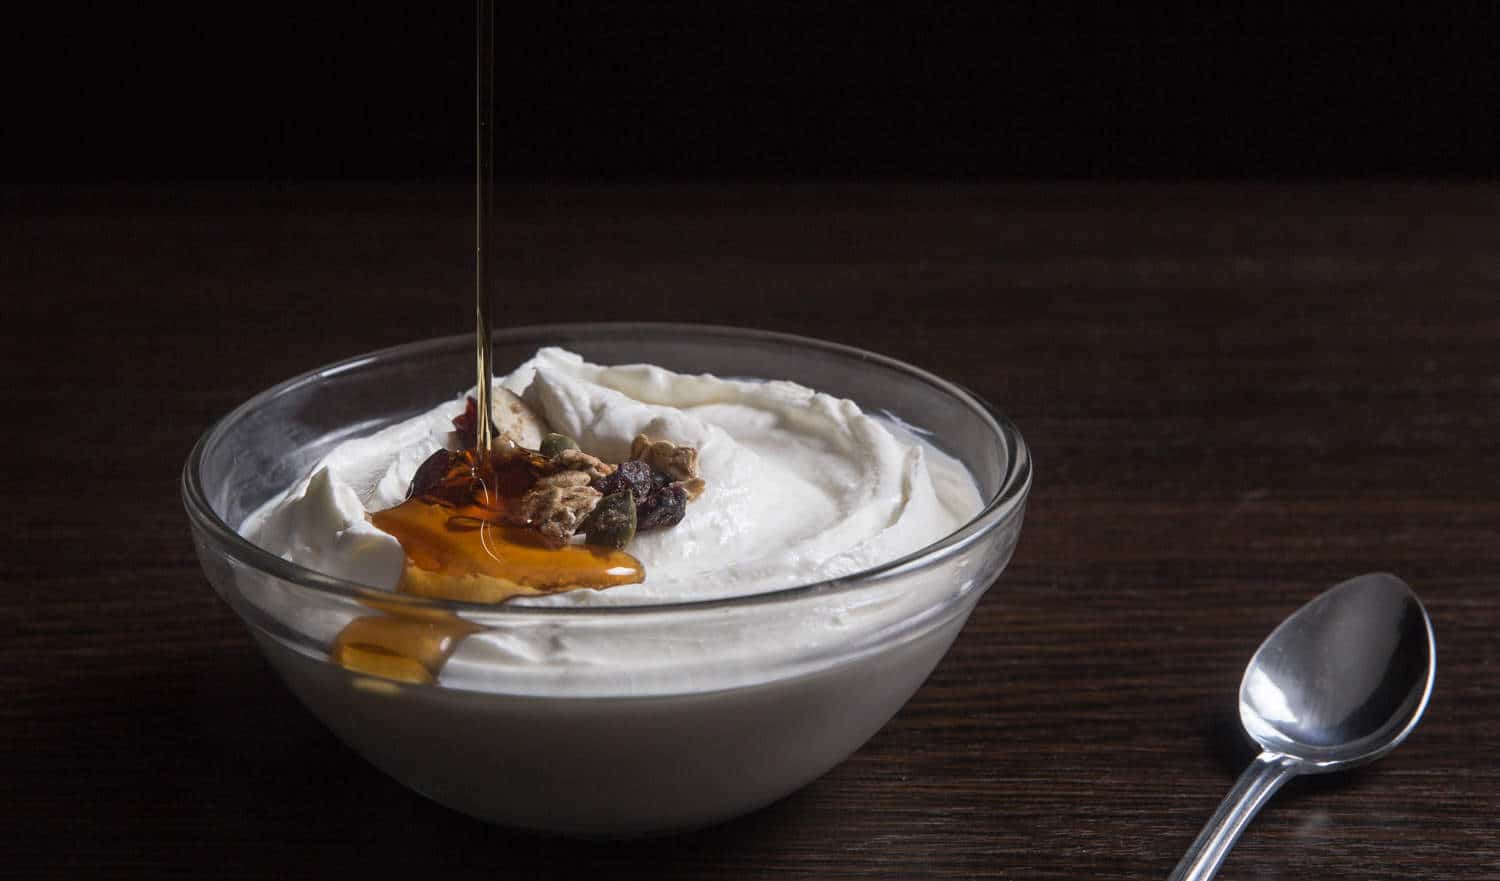
Serve by adding sweeteners such as honey or maple syrup. Add fruits, granola or your favorite toppings.
Enjoy this thick, creamy, rich homemade Greek Yogurt!!
Cooking Tips for Instant Pot Greek Yogurt Recipe #12
What’s the Best Time to Start the Instant Pot Greek Yogurt Process?
The first 3 parts of the yogurt making process: heating the milk, cooling the milk, and adding yogurt starter to the milk take roughly 90 mins (you can reduce ~30 mins if you are skipping the equipment sterilization step).
We like to start the process roughly 2 hours before we go to bed, so when we wake up, the fermentation process is done, and party’s over! 🙂
But if you don’t need your Instant Pot for cooking during the day, you can start anytime as long as it’s 10+ hours before you sleep. Or else you’ll either have to stay up late, wake up early, or end up with ultra tangy yogurt. 😉
For More Instant Pot Greek Yogurt Making Pro Tips & Findings: Homemade Yogurt Experiment
Instant Pot Greek Yogurt
Ingredients
- 2 litres (½ gallon) whole milk
- 32 grams (a little more than 2 tbsp) Plain Greek Yogurt with Active Bacterial Cultures
Equipment
- Silicone Spatula (no plastic/wooden handles)
Instructions
- Optional Equipment Sterilization: Place 2 cups of cold water and a trivet in the Instant Pot. Place silicone spatula, Pyrex glass measuring cup, and tablespoon measuring spoon in the Instant Pot. Close the lid and move the Venting Knob to Sealing Position. Sterilize everything at High Pressure (Use the manual/pressure cook button) for 3 minutes + natural release. Or Sterilize on Stovetop: sterilize the equipment (including meat thermometer) on stovetop by boiling them for 10 minutes.
After sterilization, air dry the equipment on a clean rack. - Heat Milk to 180°F - 200°F to Denature the Protein: Pour 2L (½ gallon) of whole milk in the inner pot. Close lid (venting knob position doesn’t matter). Use the Yogurt More function to boil the milk to at least 180°F. It will say “boil” on the screen. It will take roughly 35 minutes – 40 minutes. The Instant Pot screen will change to “yogt” when the boiling is done.
- Check Milk Temperature: Open the lid. Check the milk temperature immediately in a few spots and make sure the milk is over 180°F. Stir with a silicone spatula and check the temperature again to make sure the milk is over 180°F.
*Pro Tip: If the milk is not over 180°F, close the lid and heat the milk with the Slow Cook Less function for another 15 minutes. - Prepare Yogurt Starter: After the milk is heated over 180°F, place 32g (a little more than 2 tbsp) Dannon/Danone 4% Plain Greek Yogurt with Active Bacterial Cultures into the Pyrex glass measuring cup. Do not add the yogurt starter to the hot milk, as it will kill the bacterial cultures. (If you sterilized the measuring cup, make sure it has cooled to the touch).
- Cool Milk to 111°F: You can leave the pot on counter-top and wait until the milk cool to 111°F. Or alternative method to quickly cool down the milk temperature: Fill a larger pot or kitchen sink with cold tap water. Partially submerge the inner pot with heated milk into the cold tap water. Stir the milk in a circular motion with a silicone spatula and frequently measure the temperature. It will take 2 minutes – 4 minutes to cool the milk to 111°F. Remove the pot from cold water immediately. *Pro Tip: Try not to touch the bottom of the pot with the spatula as it may have some milk solid stuck to the bottom of the pot.
- Add Yogurt Starter: Add ½ cup of 111°F milk to the Pyrex glass filled with yogurt starter. Gently mix it with the tablespoon measuring spoon. Pour the yogurt milk mixture in the inner pot and give it a few gentle stirs with silicone spatula.
- Yogurt Incubation: Place inner pot back in the Instant Pot. Close lid (Venting Knob position doesn’t matter) and use the Yogurt Normal Function to incubate the yogurt. Adjust the time to 8:00 hours – 12:00 hours depending on how tangy you like your yogurt (longer time = more tangy). You can open the lid for a taste test once the yogurt is set. Roughly 6 hours. *Pro Tip: Don’t disrupt the fermentation process by moving the Instant Pot or opening the lid. Wait until it is set (roughly 6 hours) before opening the lid.
- Strain Yogurt & Stop Incubating Process: Once the yogurt has reached the desired tangy level, pour the yogurt into a Greek Yogurt Maker to separate the whey from the yogurt. Place the Greek Yogurt Maker into the fridge to stop the incubating process. Greek yogurt will be ready to serve in 3 hours – overnight depending on how thick you like it.
*Pro Tip: If you think the Greek Yogurt is too thick, you can stir some of the whey back in with a whisk to adjust the thickness. - Serve: Plain Greek Yogurt is done. Serve by adding sweeteners such as honey or maple syrup. Add fruits, granola or your favorite toppings.
Notes
Nutrition
All Our Pressure Cooker Recipes
*Disclosure: We are an Amazon Influencer/Amazon Associate. This means that if you decide to purchase items or services on Amazon through our links on Pressure Cook Recipes to Amazon, Amazon will send a small commission to us at no additional costs to you. Thank you!
