After conducting 12 tests of making homemade yogurt in our Test Kitchen, it’s time for you to geek out with us! Get behind the scenes on how we developed our foolproof Instant Pot Yogurt Recipes. Plus, lots of tips to perfecting your pressure cooker yogurt.
Instant Pot Yogurt Experiment
You can click on the links to skip to a particular section.
- 5 Simple Steps to Make Plain Yogurt
- Milk
- 2.1 Choosing Milk
- 2.2 Thickening Homemade Yogurt: Milk Powder
- 2.3 Heating Milk
- 2.4 Cooling Milk
- Yogurt Starter
- How Long Do You Incubate Yogurt?
- The Birth of Greek Yogurt: Straining Yogurt
The Great Struggle
When I was 5, my aunt introduced me to the world of plain yogurt.
“Jacky, have you ever had yogurt?”
As a boy who loves to eat everything, I was thrilled to take my first bite.
My life was never the same.
I don’t know about you, but plain yogurt is probably the only food I don’t like.
A lot of our readers had requested for our Instant Pot Yogurt Recipe and I just kept stalling…
That’s like asking Homer Simpson to stop eating his donuts.
Sorry, not going to happen….
Not until 3 months ago, I received an email from a gentleman called Dale.
His email softened my heart and eventually changed my mind.
Words are some of the most powerful things in the world. Well played Dale… Well played…
After hundreds tablespoons of plain homemade yogurt, I can confidently tell you that homemade plain Instant Pot Yogurt tastes a lot better than the store bought ones.
Let’s carry on with our Instant Pot Yogurt experiment.
1. 5 Simple Steps to Make Plain Instant Pot Yogurt
Making your own yogurt at home is actually quite simple. We can break it down to five simple steps.
How to Make Instant Pot Yogurt in 5 Steps:
- Heat Milk to 180°F – 200°F to change the protein structure
- Cool Milk to 105°F – 114°F
- Add Yogurt Starter to Milk
- Wait for Yogurt to set
- Plain Yogurt is done – refrigerate and strain if desired
2. Milk
2.1 Choosing Milk for Making Instant Pot Yogurt
The type of milk you use will determine the thickness and creaminess of your homemade yogurt.
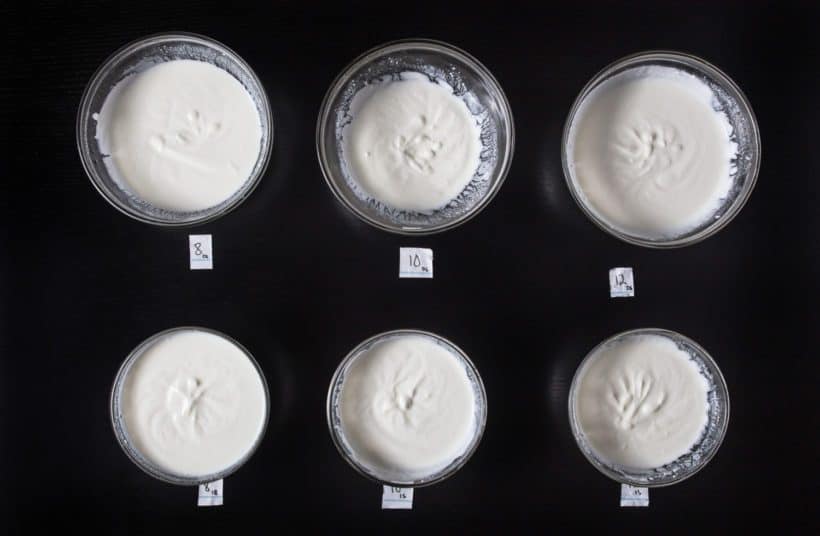
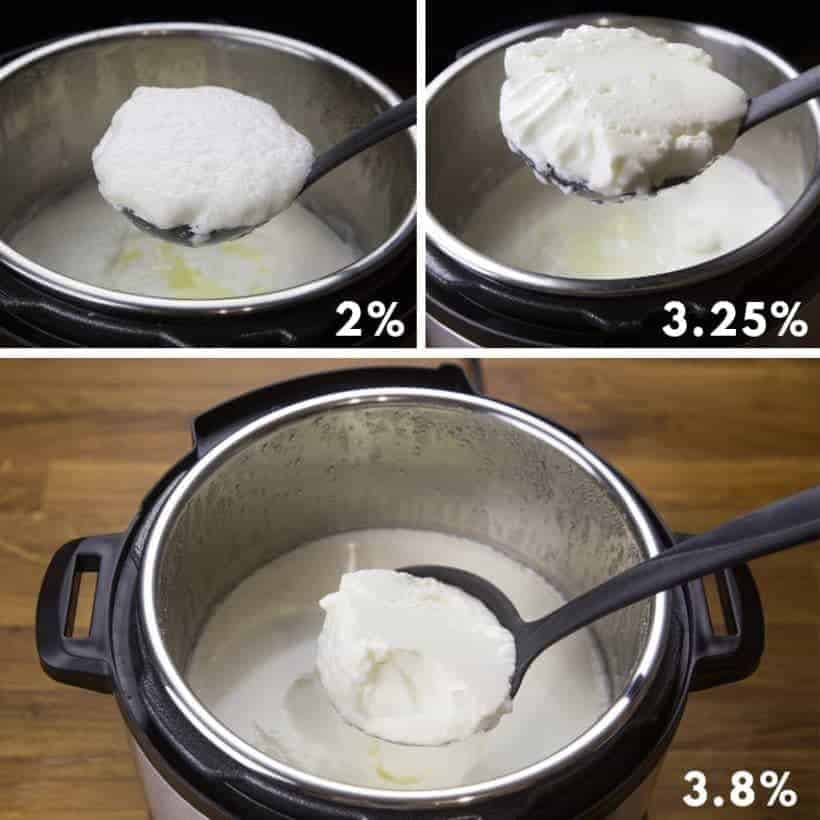
Tests: We tested using 2% Milk, 3.25% Milk and 3.8% Milk.
Here are the test results:
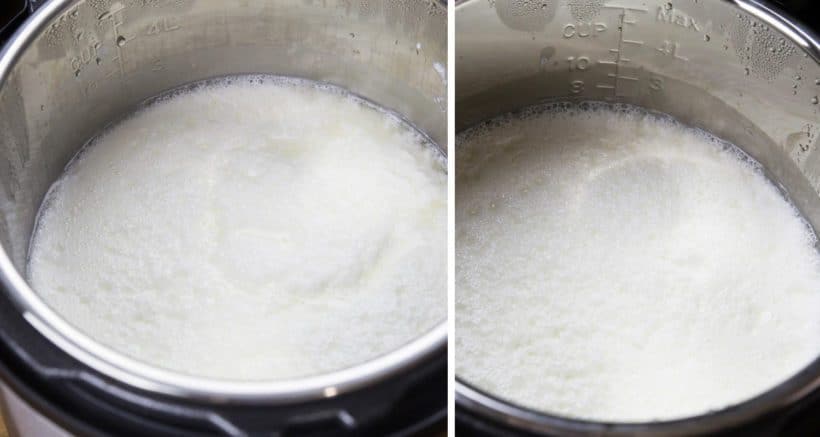
Result? The above photos show 3.8% Whole Milk with the highest milk fat content produced the thickest and creamiest homemade yogurt among the three. It’s easier to tell the difference by looking at the whey separation in the pot.
Our Favorite: Whole Foods 365 Organic 3.8% Whole Milk created the best yogurt in our experiments in term of taste and thickness. We would recommend it to yogurt-making beginners.
2.2 How Do You Thicken Homemade Yogurt?
The Effect of Milk Powder
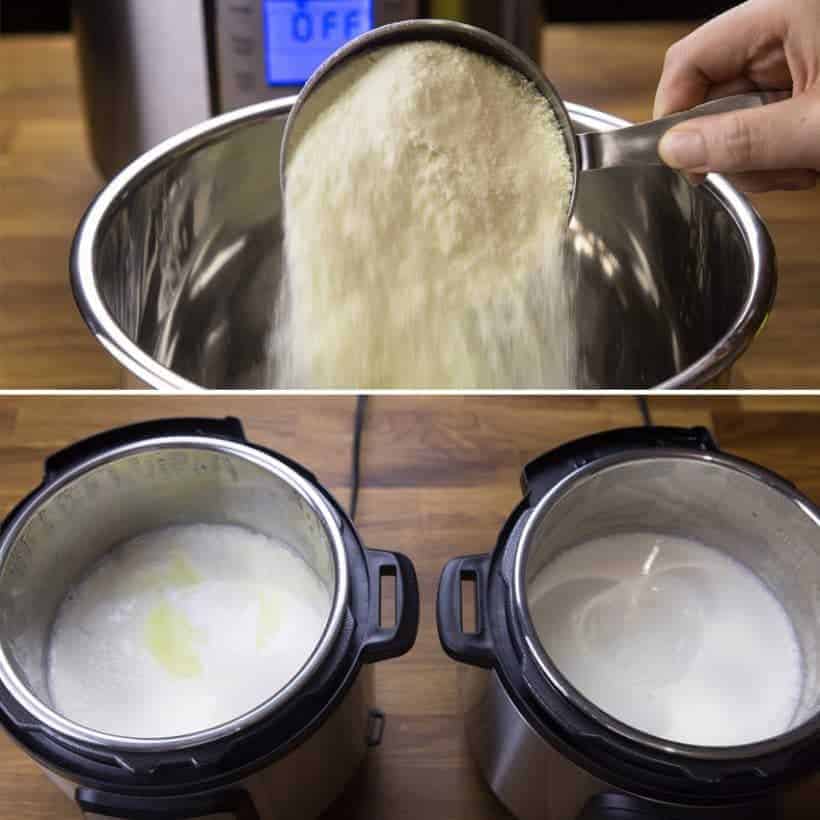
Result? The batch with powdered milk came out noticeably thicker with less whey separation.
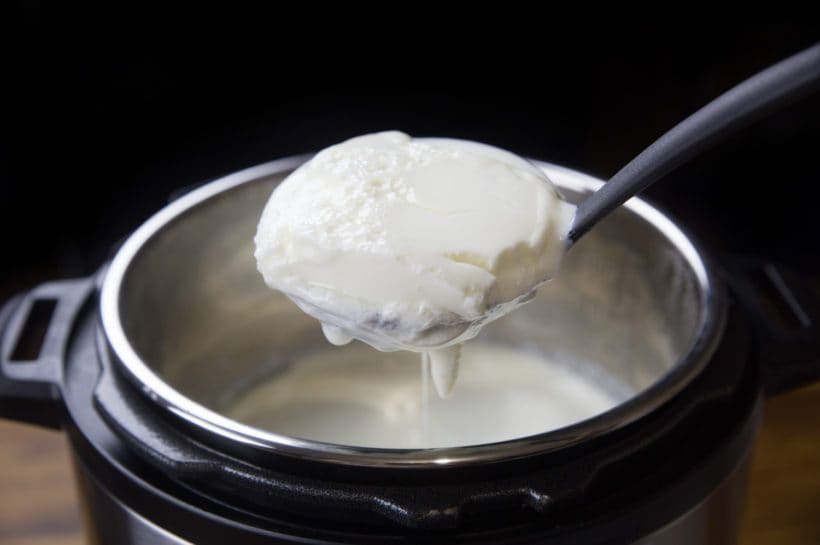
2.3 Heating the Milk
Test 1: We tried heating milk to 182°F – 197°F.
Result? The higher temperature didn’t seem to have an effect on Instant Pot Yogurt’s thickness.
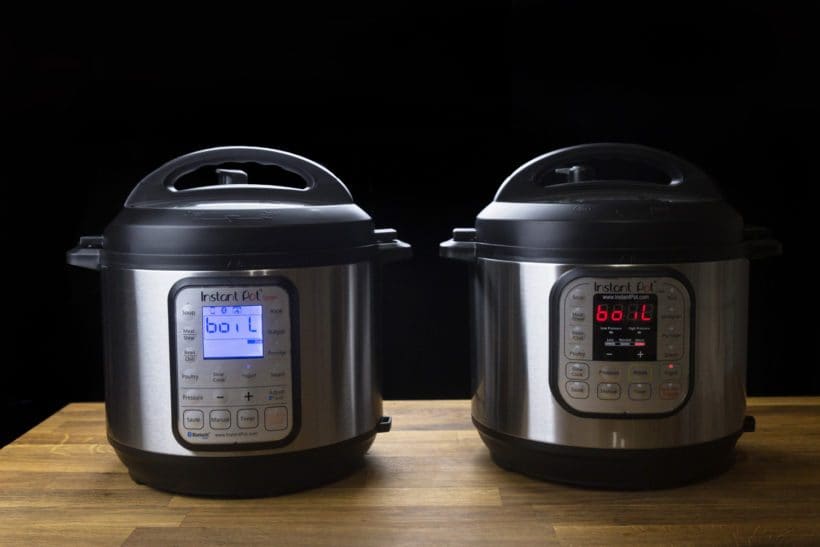
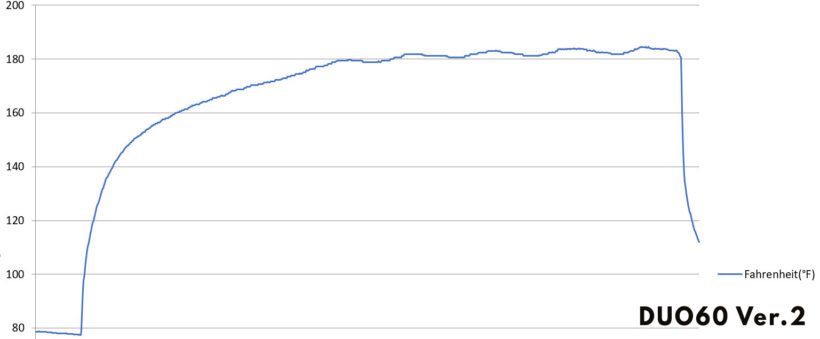
Test 2: We also tried holding 2 batches of milk for 30 minutes with the Slow Cook Less function on DUO60 Version 1 and Version 2.
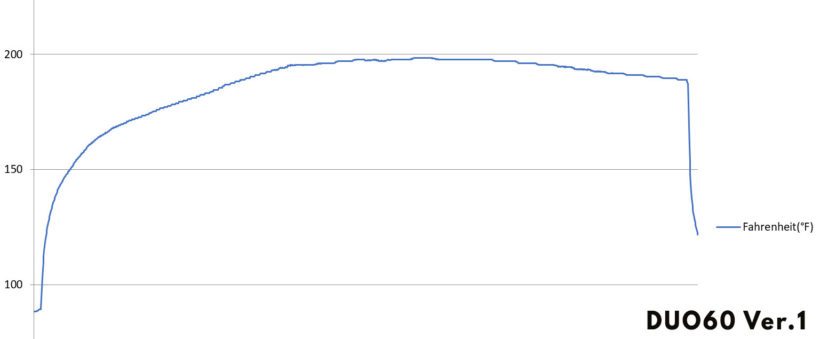
Peaked at 184.6°F during a 30 minutes interval.
Result? To our surprise, holding milk at 185°F – 199°F for an extra 30 minutes did not have a noticeable effect on the yogurt’s thickness.
2.4 Cooling the Milk
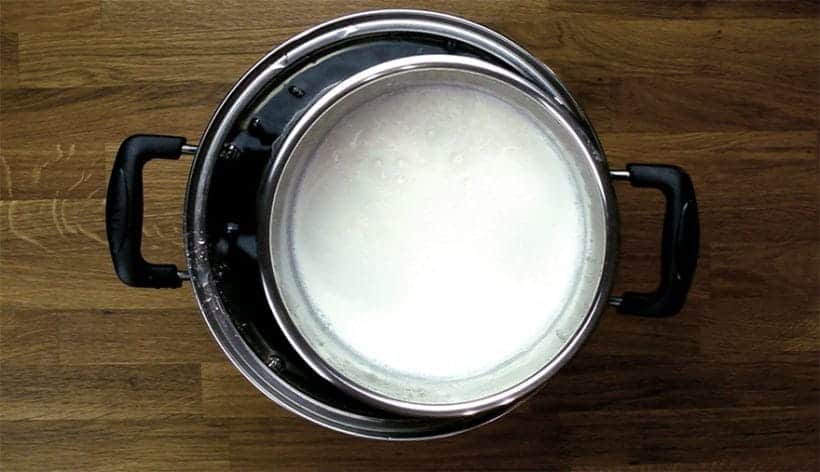
*Pro Tip 1: The quickest and easiest way to cool down a batch of milk is to place the inner pot inside a bigger pot filled with cold tap water. You can also fill the kitchen sink with cold tap water.
*Pro Tip 2: Stir with a silicone spatula to make sure the milk cool down evenly.
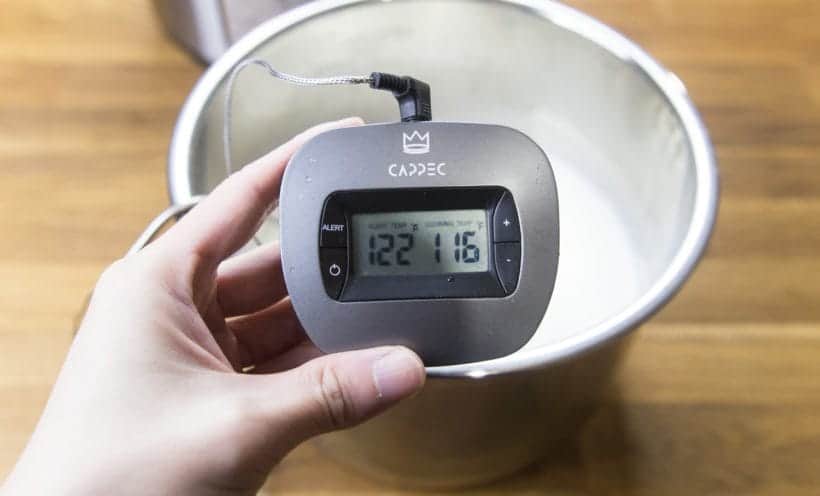
Cooling Time: It took 2 minutes 45 seconds to 5 minutes to cool down a 2L batch of milk with this method.
We tried cooling our milk to 105°F – 114°F and we were successful in making yogurt in this temperature range.
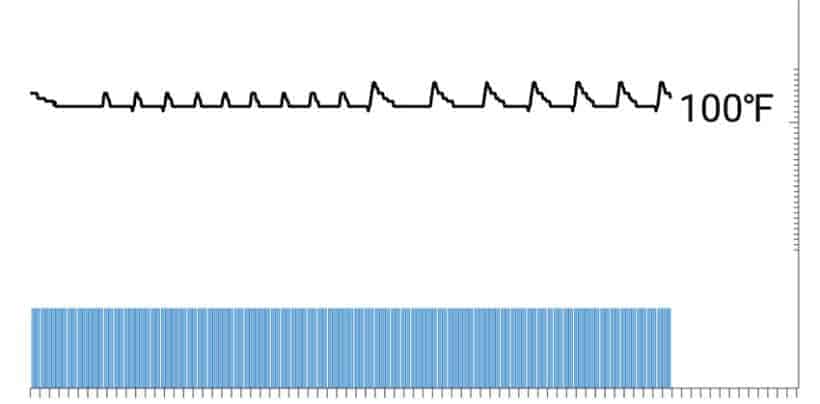
It makes sense as the Instant Pot tries to maintain the Yogurt culturing temperature at 106°F – 113°F in this 12 hours temperature chart we recorded.
3. Yogurt Starter
3.1 Choosing Yogurt Starter for Making Yogurt
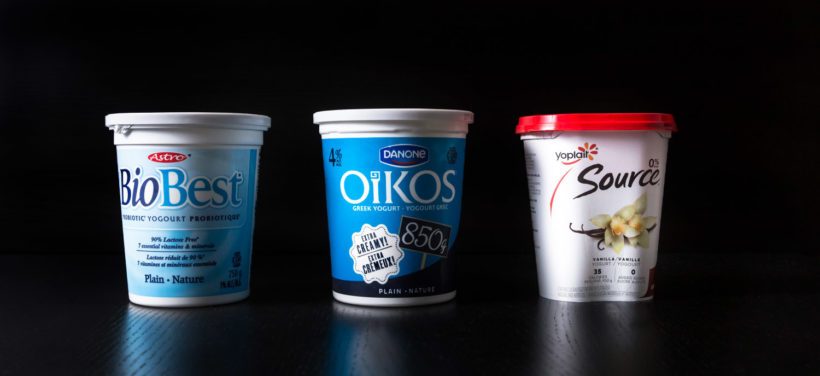
 We tried 5 different brands of yogurt as yogurt starter:
- BioBest Plain Yogurt
- Danone 4% Plain Greek Yogurt
- Yoplait Vanilla Yogurt
- Store Brand 4% Plain Greek Yogurt (no picture sorry)
- Homemade Instant Pot Plain Yogurt
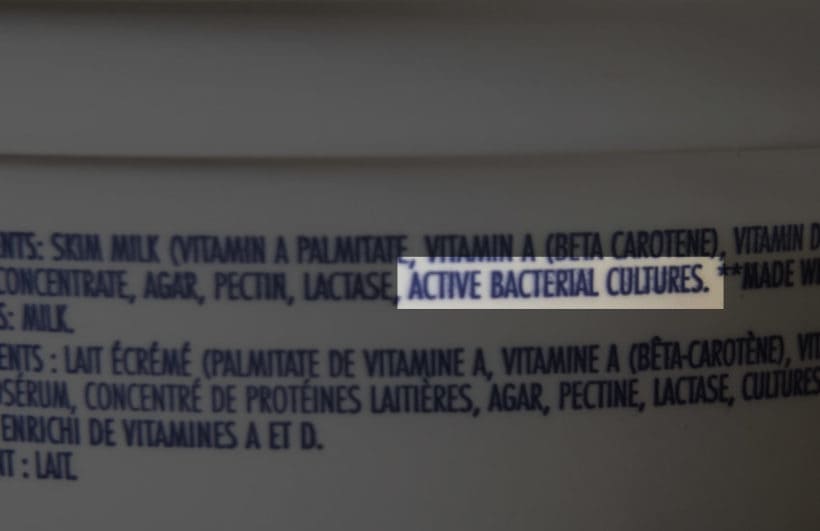
*Pro Tip 1: Check the ingredient list when you choose your Yogurt Starter. As long as the store-bought yogurt has active bacterial cultures, the yogurt should work as the yogurt starter.
A live culture usually contains at least 2 types of bacteria (L. bulgaricus and S. thermophilus). These thermophilic bacteria strives in the 95°F – 115°F range, with 108°F – 111°F being the sweet spot.
*Pro Tip 2: The yogurt consistency and taste do change depending on the type of bacteria cultures in the yogurt. So stick to the brand you like best for the most consistent result.
3.2 Plain Yogurt vs Flavored Yogurt
Just to point out the obvious, Greek Yogurt will not make Greek Yogurt. Vanilla Yogurt will not make Vanilla Yogurt either.
In fact, we don’t recommend using flavored yogurt as the flavor from the yogurt starter gives a slight off-taste to the final homemade plain yogurt.
Our Favorite: We liked the flavor and consistency the most from Danone 4% Plain Greek Yogurt
3.3 How Much Yogurt Starter to Use?
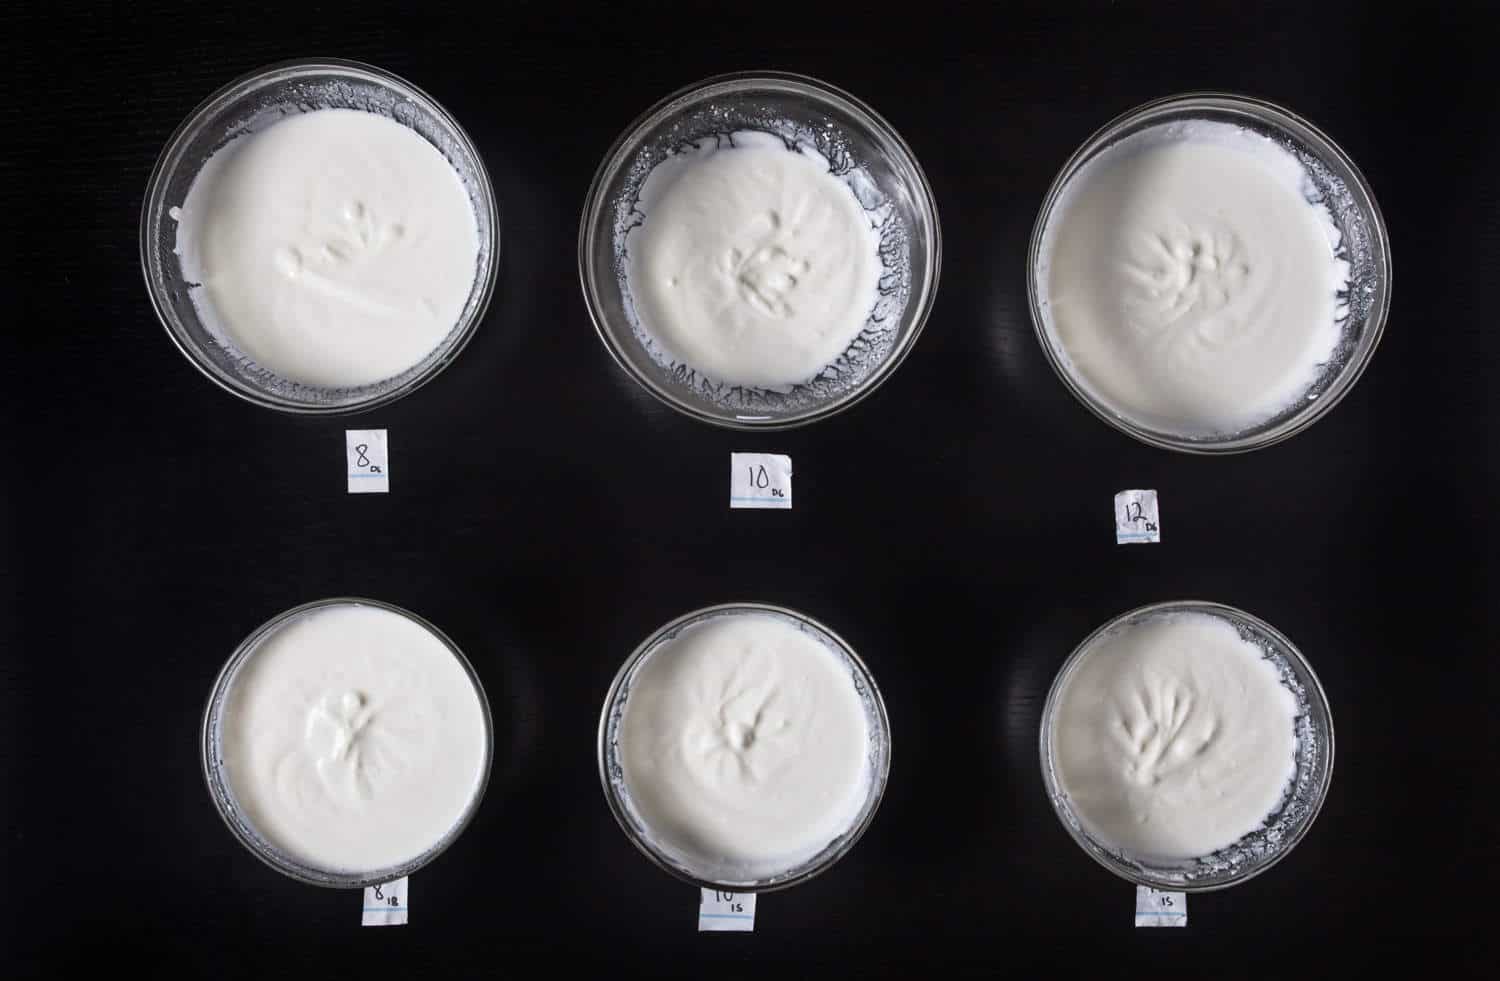
Tests: We tested using 16g of Yogurt Starter (left), 32g of Yogurt Starter, and 63g of Yogurt Starter (right) in batches of 3.25% milk.
Results? The yogurt came out slightly thicker with 63g (1/4 cup) of yogurt starter. You would have a hard time telling the difference without a side by side comparison. The tanginess remained the same.
Conclusion: We agreed that it doesn’t make much sense to use more than 16g (a bit more than 1 tablespoon) of yogurt starter per 1L of milk as the difference is too subtle.
4. How Long Do You Incubate Instant Pot Yogurt?
Yogurt – The Incubation Stage
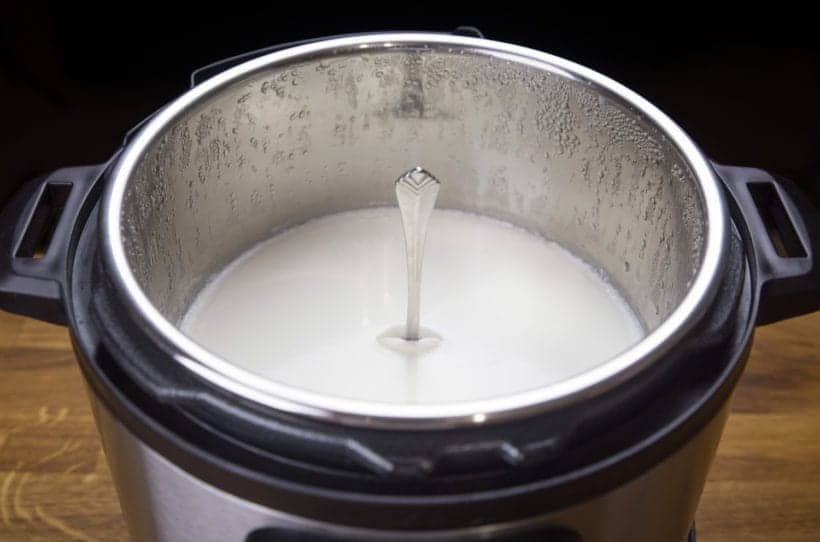
*Pro Tip: Putting the yogurt in the fridge will stop the incubating process and will thicken the yogurt slightly.
Findings: Longer incubating time will not make the yogurt any thicker, but increases the tanginess in your homemade yogurt.
Amy and I both “prefer” plain yogurt with 9 hours of incubation as we like them quite mild in tanginess. Plain yogurt with 12 hours of incubation is very tangy for us so we stopped there.
5. The Birth of Greek Yogurt: Straining Yogurt
To create Greek Yogurt, all you have to do is separate the whey from the yogurt to make it thicker.
The more whey you separate the thicker the yogurt.

*Coffee filter and paper towel (It may not be a good idea to use paper towel as our dear reader Leah mentioned, there are chemicals in paper towel to make it absorb better) on a sieve will work as well.
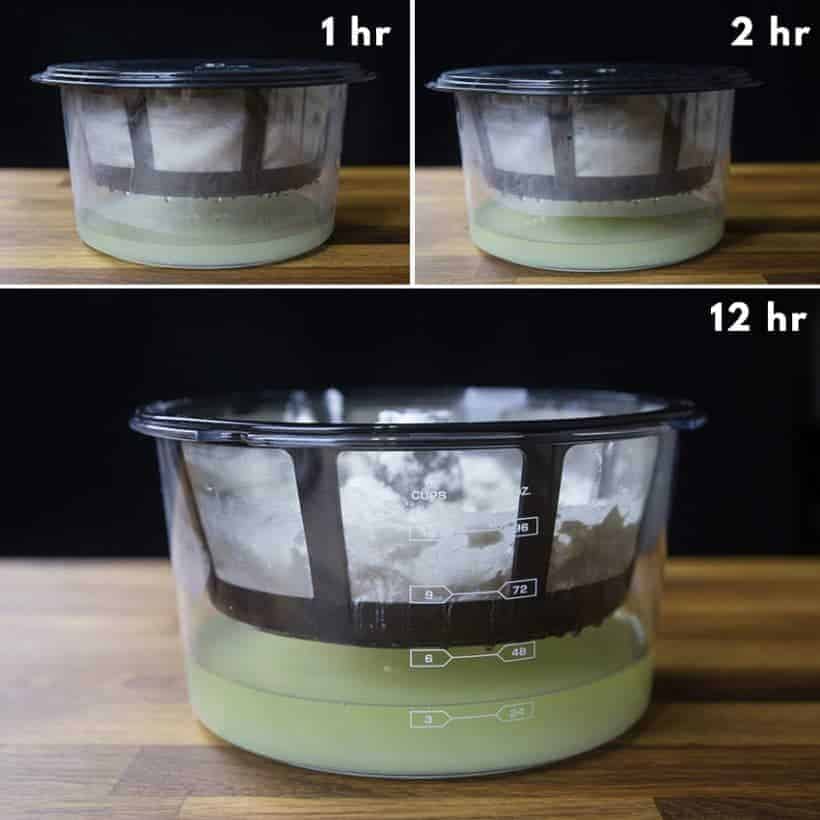
How Long to Strain Yogurt to Make Greek Yogurt?
- 1 Hour – about 1.5 cup (375ml) of whey was separated from 2L of yogurt by the strainer
- 2 Hours – about 2.5 cups (625ml) of whey was separated from 2L of yogurt by the strainer
- Overnight – about 4 cups (902ml) of whey was separated from 2L of yogurt by the strainer. You are pretty much left with a little over 1L of Greek yogurt after straining overnight.
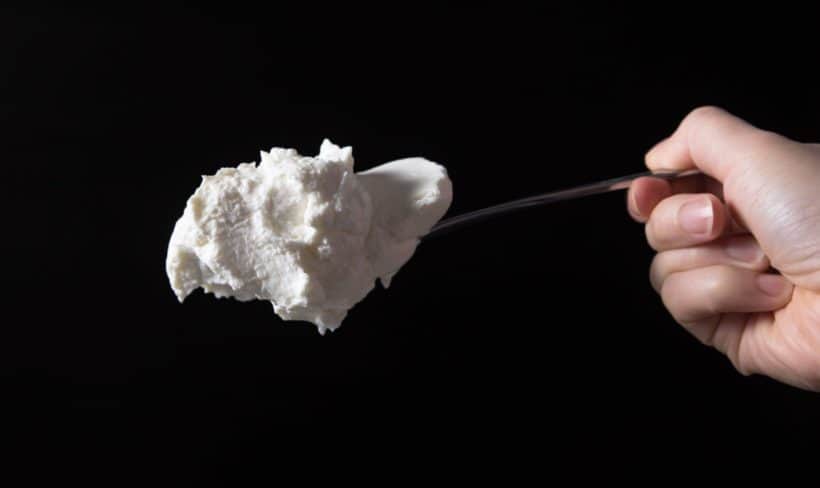
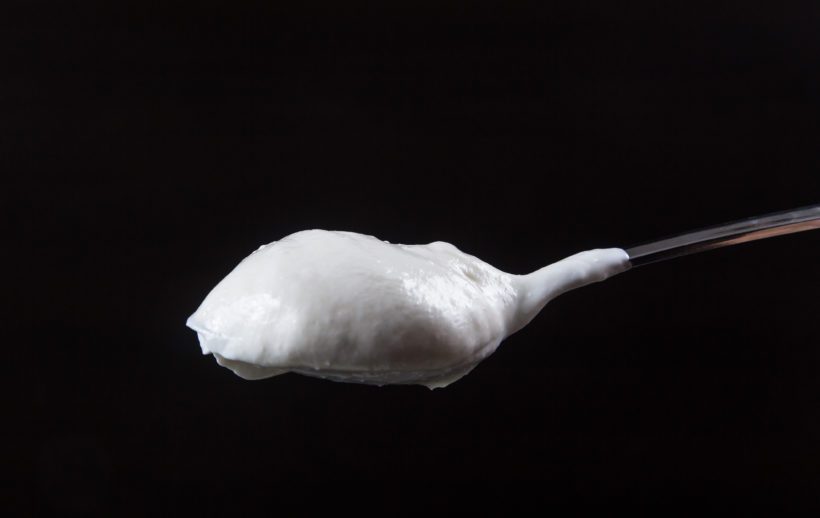
Try serving this 12 hours incubated plain yogurt cream cheese to your kids as ice cream and see what they think.
*Pro Tip: If you think the Greek Yogurt is too thick, you can stir some of the whey back in with a whisk to adjust the thickness.
Instant Pot Yogurt Recipe #12
Yogurt Recipe: Instant Pot Yogurt #12
With the results of 12 Yogurt experiments, we have developed our Foolproof Instant Pot Yogurt #12 & Foolproof Instant Pot Greek Yogurt #12.
Now I can go back to enjoy my donuts and Dale can enjoy his Instant Pot Yogurt.
Take care & have fun cooking everyone 🙂
All Our Pressure Cooker Recipes
*Disclosure: We are an Amazon Influencer/Amazon Associate. This means that if you decide to purchase items or services on Amazon through our links on Pressure Cook Recipes to Amazon, Amazon will send a small commission to us at no additional costs to you. Thank you!

 We tried 5 different brands of yogurt as yogurt starter: